 You can find patterns on many websites.
Designers often use them spice up their layouts.
In this tutorial I will show you how to make your own patterns for your websites in Photoshop.
Next zoom in to the max("Alt" + "Scroll Wheel" or "Ctrl" + "=") and select the pencil tool).

All that's left is to reproduce the pixels of your desired pattern.
Once you're done, go to Edit->Define Pattern...
Name your pattern and it's done.
To test the new pattern you can use the "Paint Bucket Tool"

Don't forget to select "Pattern" instead of "Foreground" in the tool options.

Or right click on a layer, click "Blending Options".
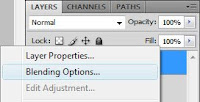
Then go to "Pattern Overlay" and select the pattern you want to try out.
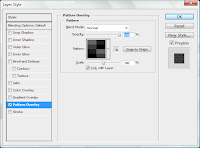
Pictures to the left are the patterns zoomed in, while pictures to the right are the previews of the way the pattern actually look.
Diagonal lines A (3x3 pixels)


Diagonal lines B (3x3 pixels)


Thick diagonal lines (9x9 pixels)


Vertical lines (2x1 pixels)


Horizontal lines "Scanlines" (1x2 pixels)


Holes (10x10 pixels)
These look nice on a colorfull background with the "soft light" blending mode.
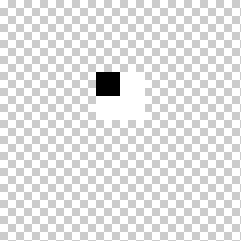

Cells (10x10 pixels)
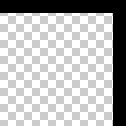
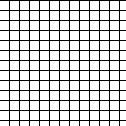
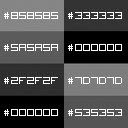
Carbon Fiber (4x4 pixels)

TIP: Try experimenting by using different blending modes and styles on your pattern to make them look even better.
Nice :)
ReplyDelete@Jim
ReplyDeleteThanks ;D