
Tuesday, January 20, 2015
Tuesday, November 25, 2014
WordPress redirect loop

Tuesday, November 18, 2014

Saturday, November 15, 2014
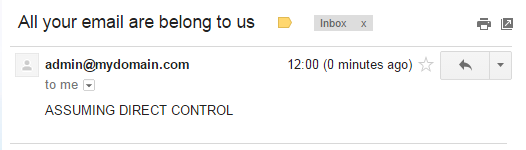
Set up a custom email address for free
If you have a website with a custom domain you can start sending and receiving email using a custom address like you@yourdomain.com.
Friday, October 11, 2013
Simple Console Application in D

Monday, September 30, 2013
Installing Ubuntu on the pcDuino

Sunday, February 5, 2012
Image resize filter for xupload in Yii framework
Subscribe to:
Posts (Atom)